Connect for Schools
Flood Plans
Using Connect
- Can I add more than one property?
- Can I use Resilico Connect for commercial properties?
- How do I get started using Resilico Connect?
- How do I maintain my PFR measures?
- How do I remove a property from my Resilico Connect account?
- Is there a limit on how many properties I can have?
- What are the benefits of using Resilico Connect?
- What do the flood warning colours mean?
Creating your School’s Flood Action Plan
You can create your Flood Action Plan with the help of a Resilico® representative or an external professional. The Flood Action Plan you create will be unique to your school and so it is important for you to consider all the tasks that your school will need to do in the event of possible flooding.
You can change or update your Flood Action Plan whenever necessary. To make or edit your plan, follow the steps below.
-
Open your web browser and go to portal.resilico.com, and log in to your Resilico® Connect website account using your registered email and password.
-
Once logged in you will see your organisation. Go to ‘View Properties,’ and then select ‘Flood Plan.’
-
Here you can attach any relevant files related to your Flood Action Plan by clicking the ‘chose files’ button and attaching documents.
-
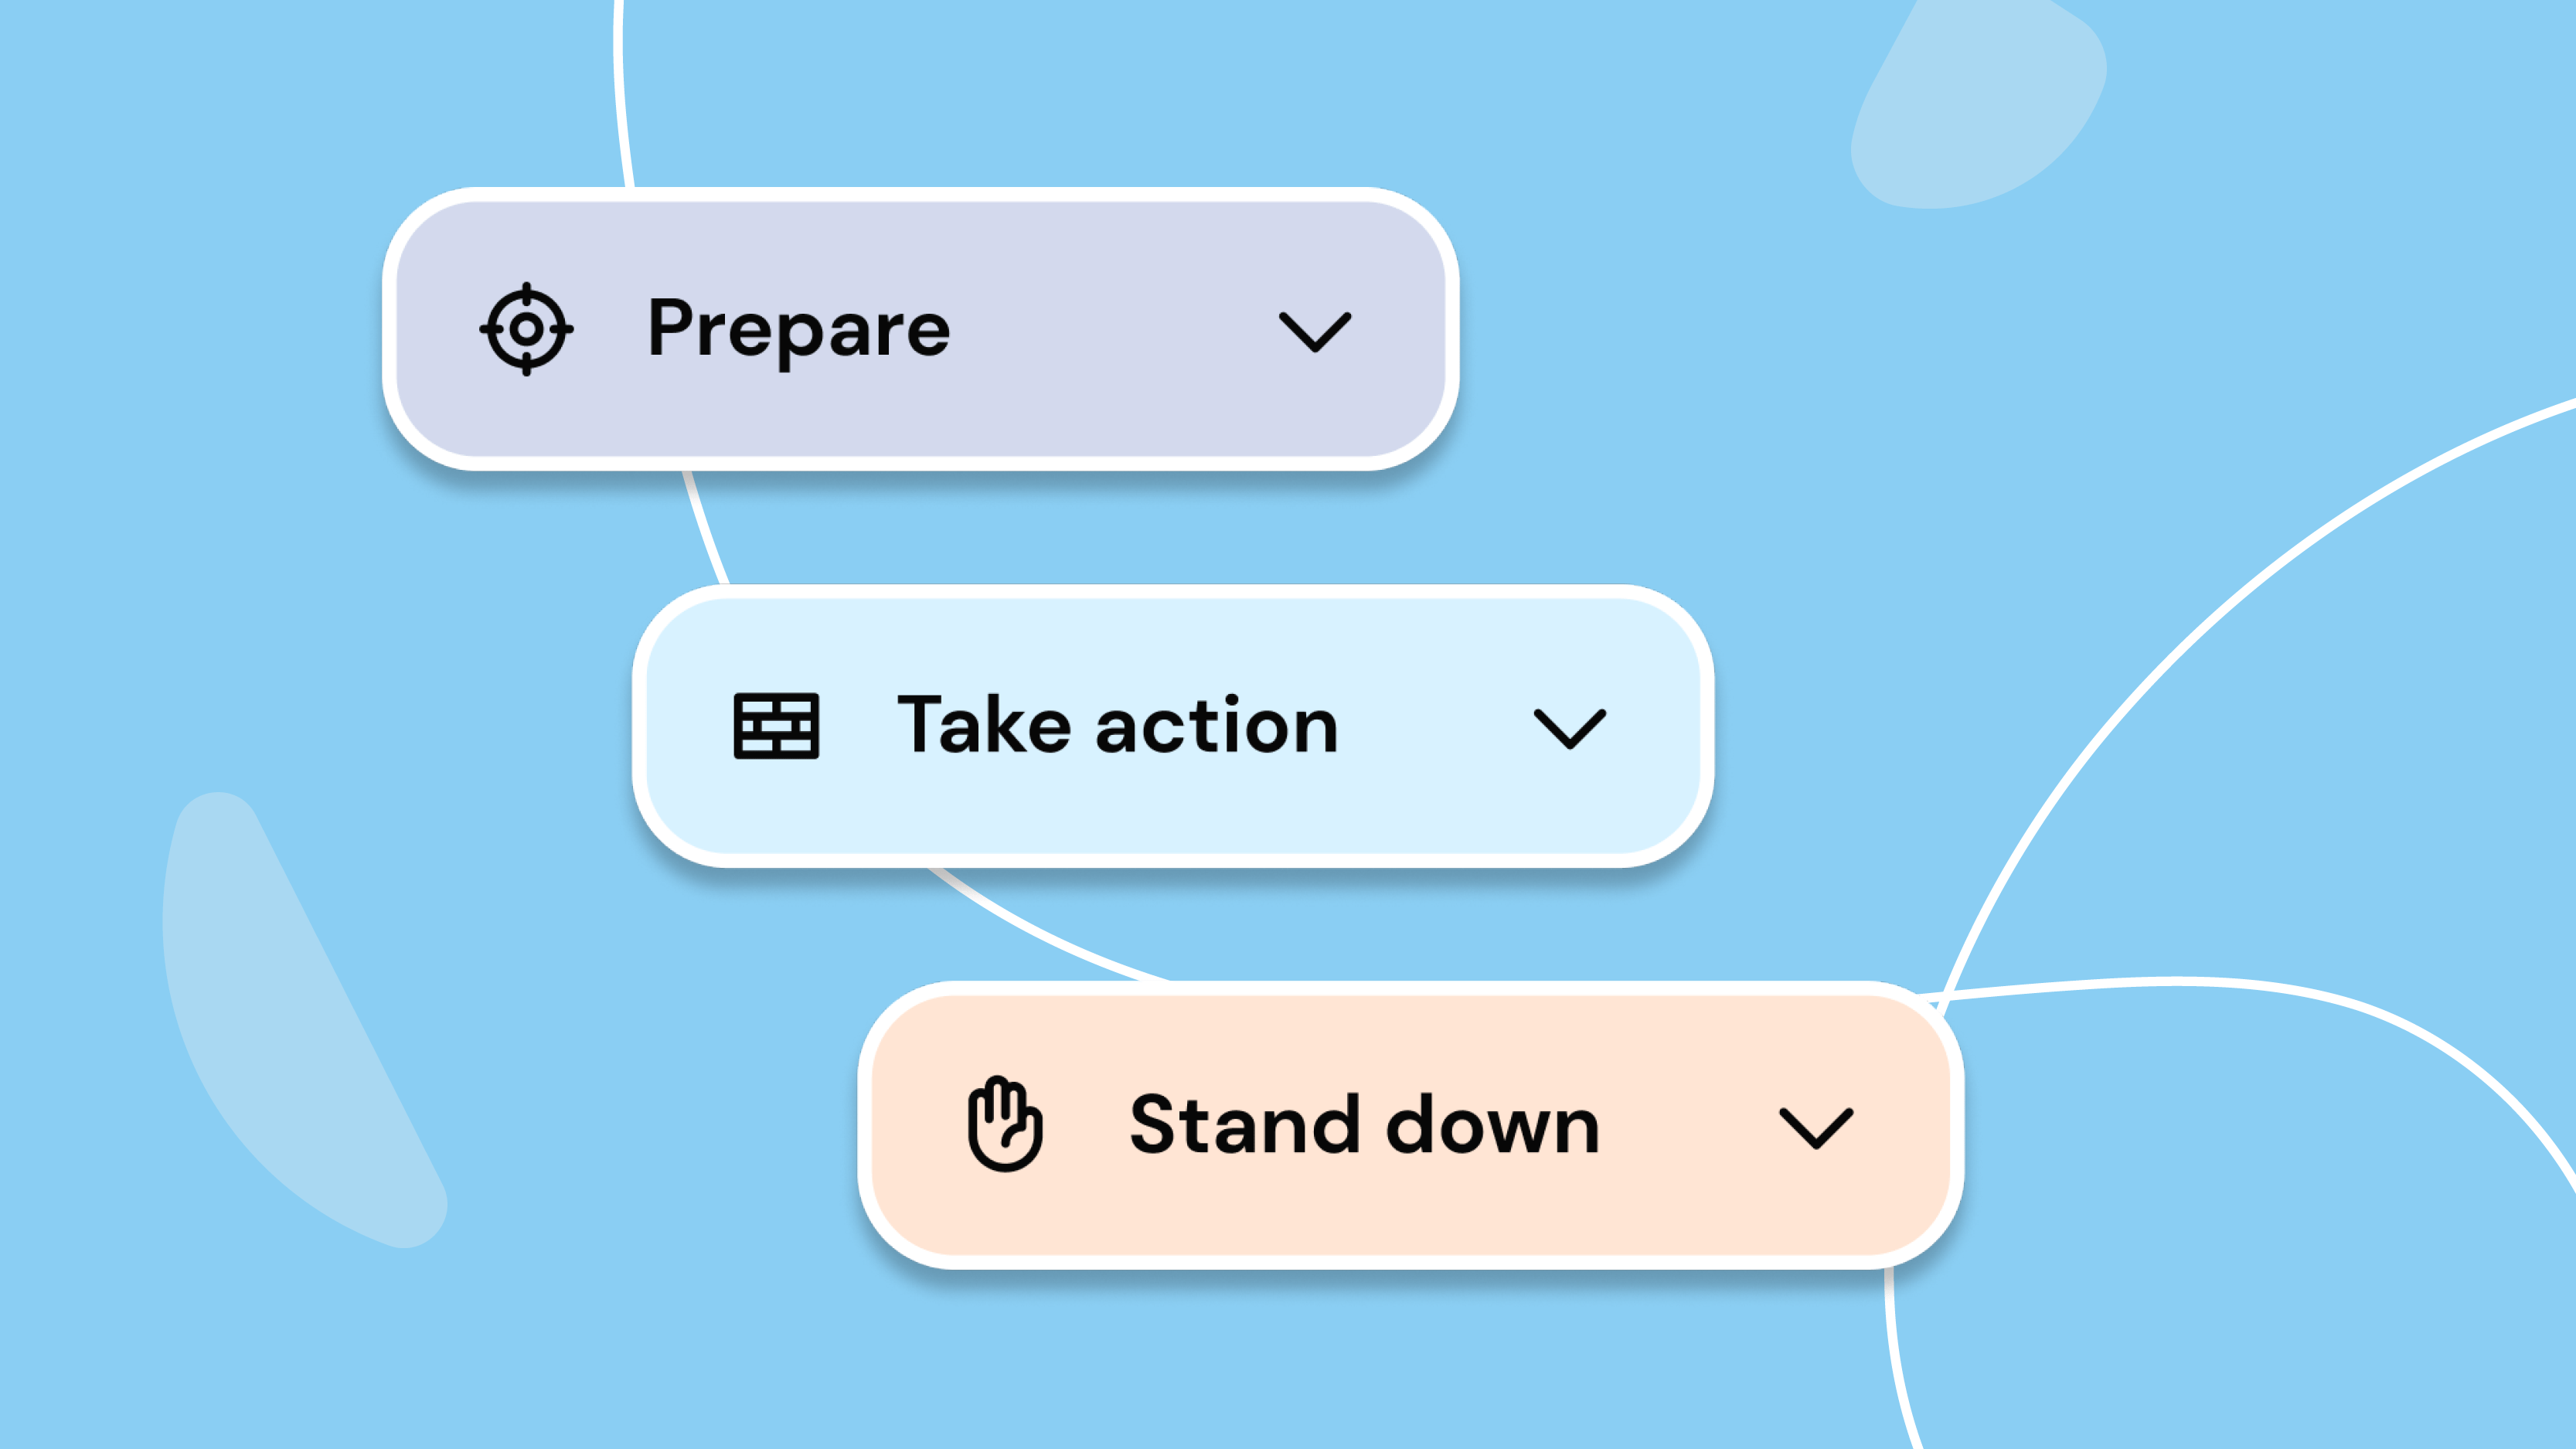
To add a new step, click ‘+ Add step to Flood Plan’ and fill out the form. Select the right Step Group—’Prepare, Implement, or Post Event’—for the step, and then enter a title and description.
-
To rearrange the step order or move it to a different Step Group, just drag and drop it to the new location.
